The following step-by-step process demonstrates how GSTP messages are created.
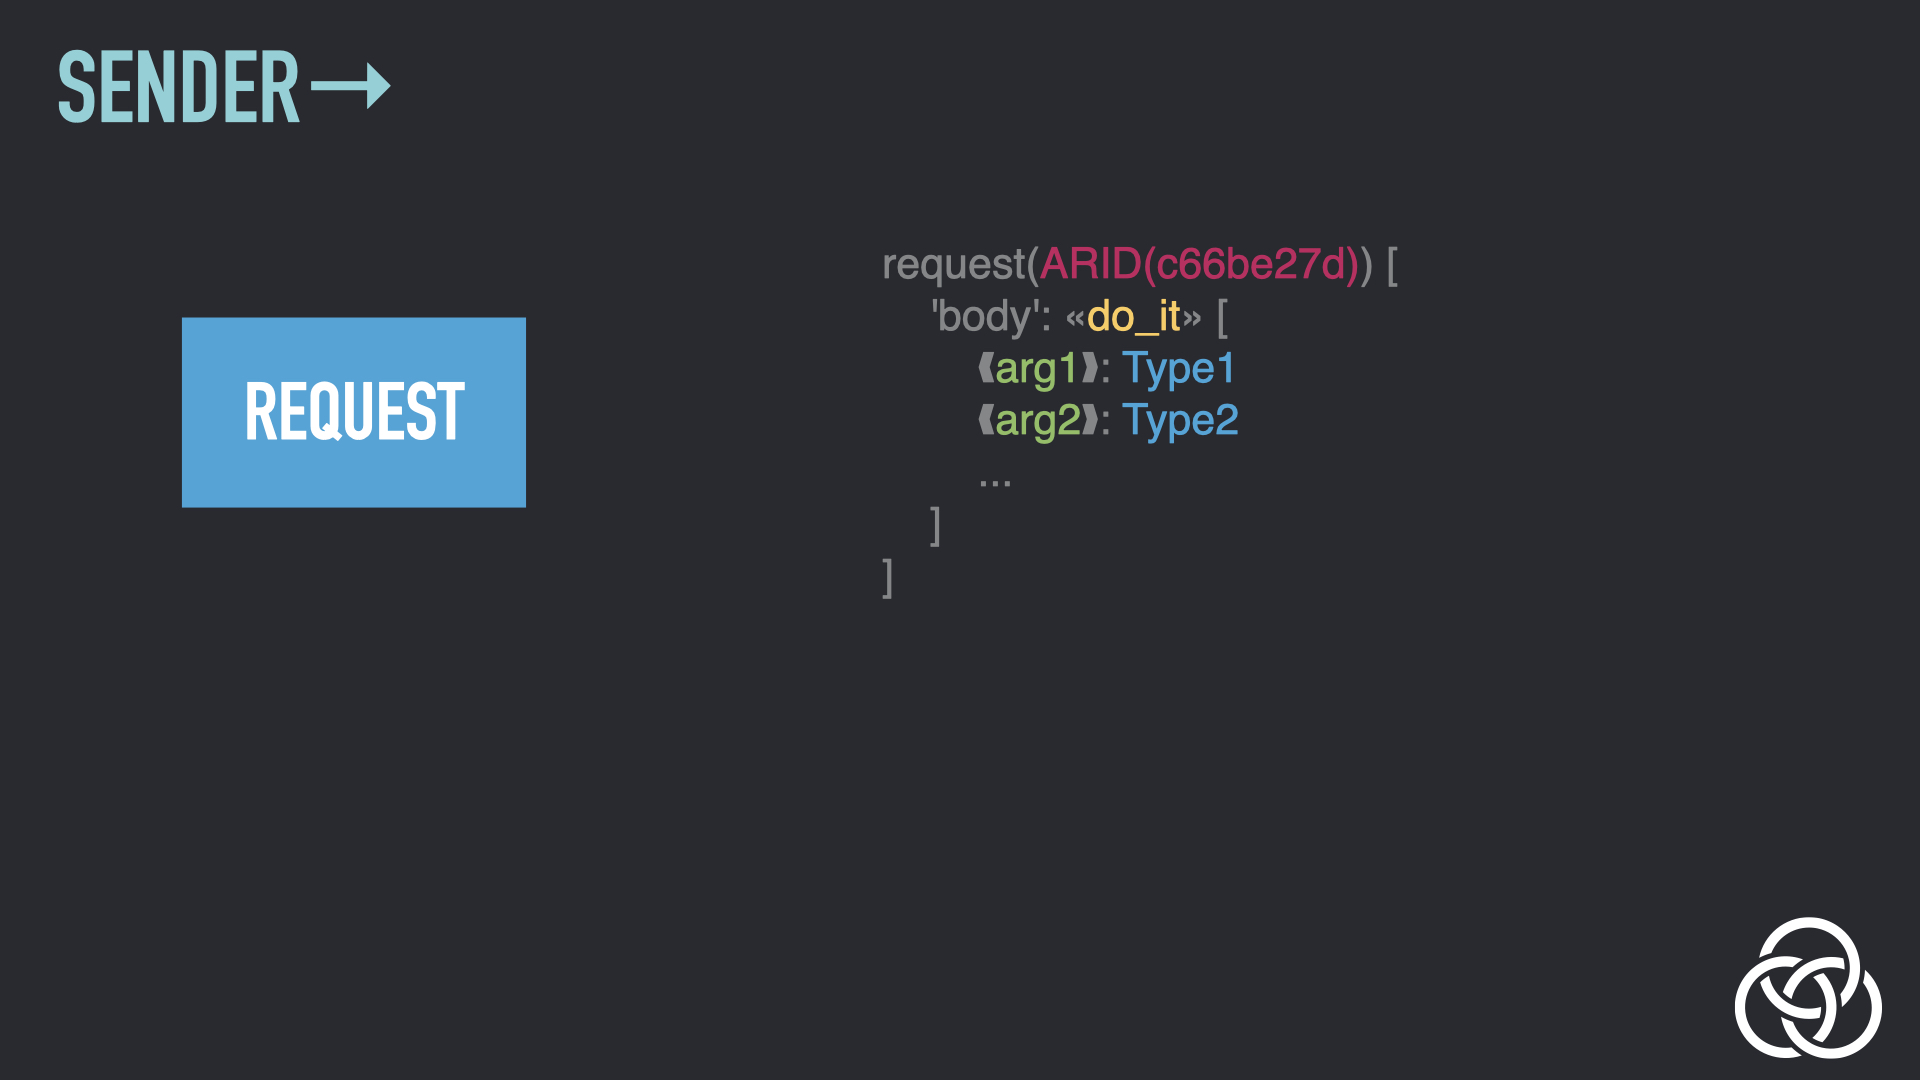
Step 1: Build a Request/Response Message
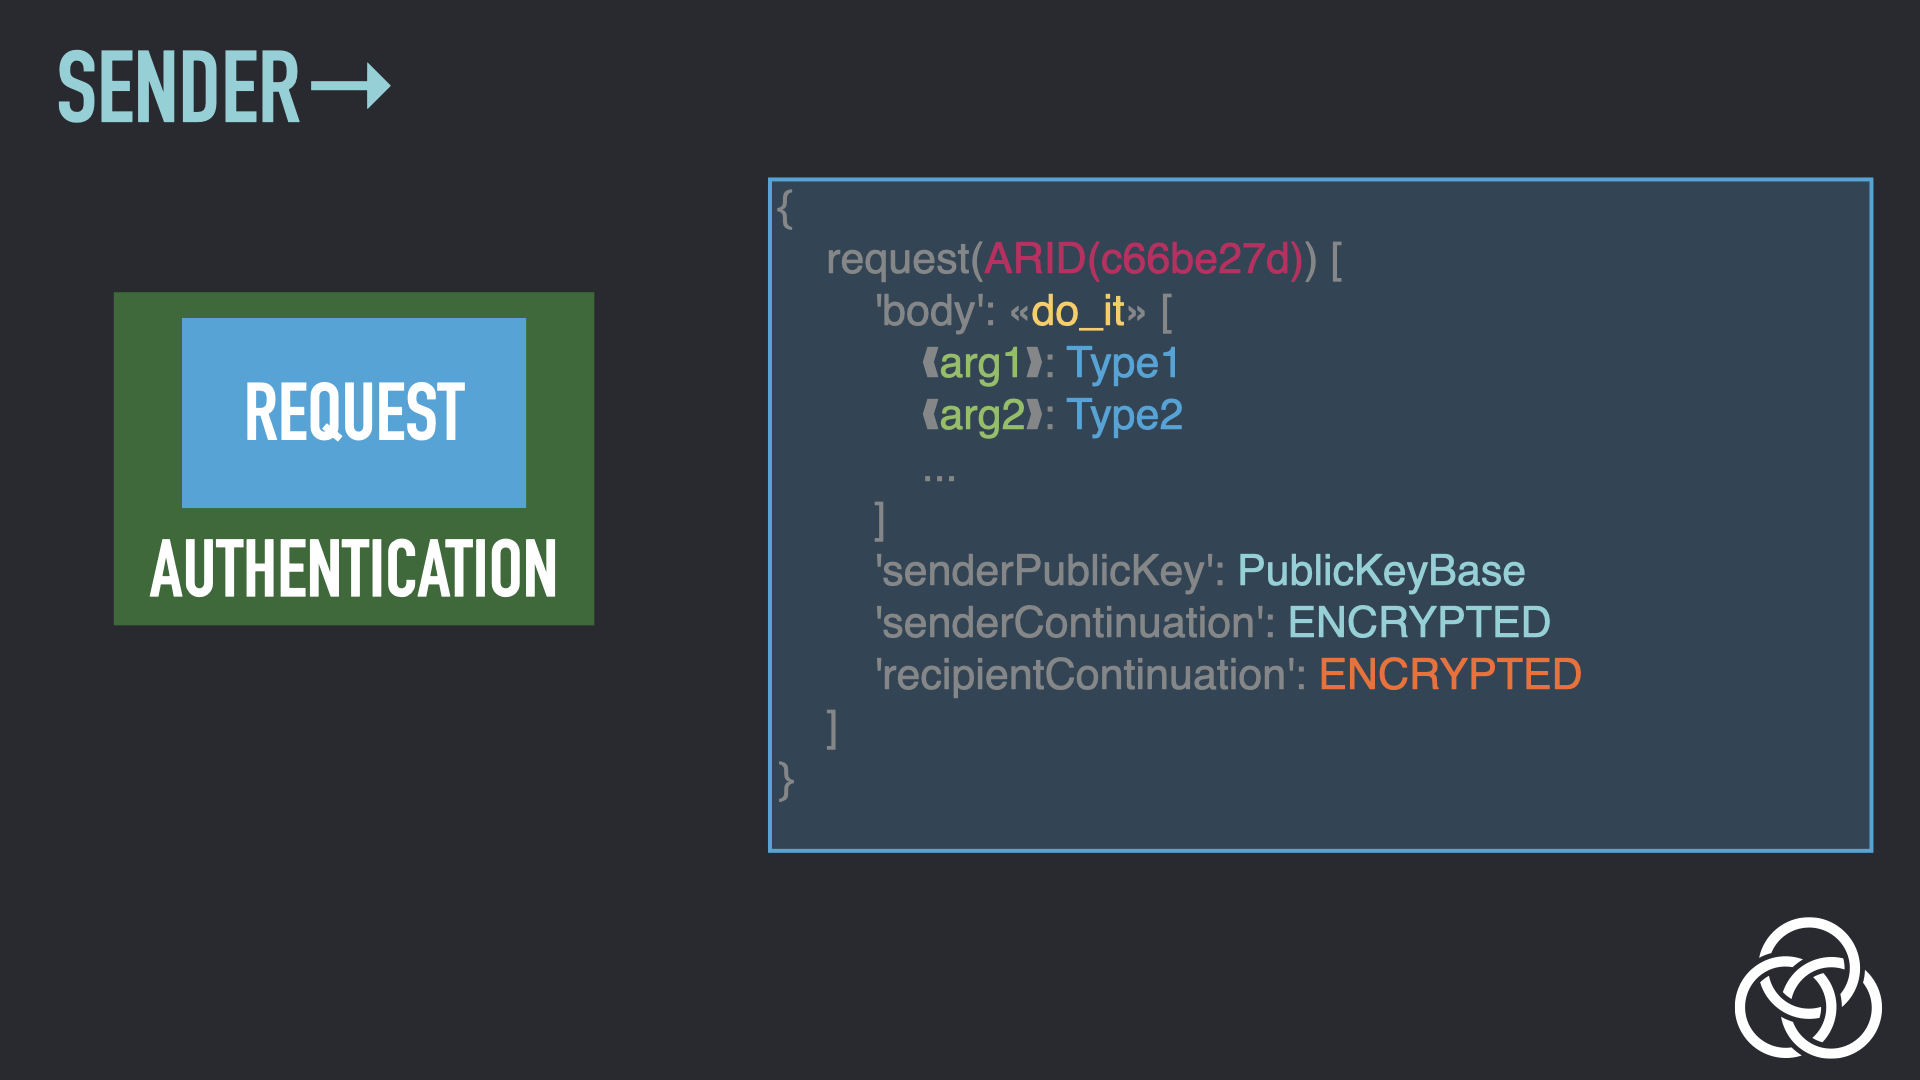
GSTP messages are built as Request/Response messages using Gordian Envelope. A Request/Response message basically means that a sender is asking a remote envelope recipient to do something and return the results.
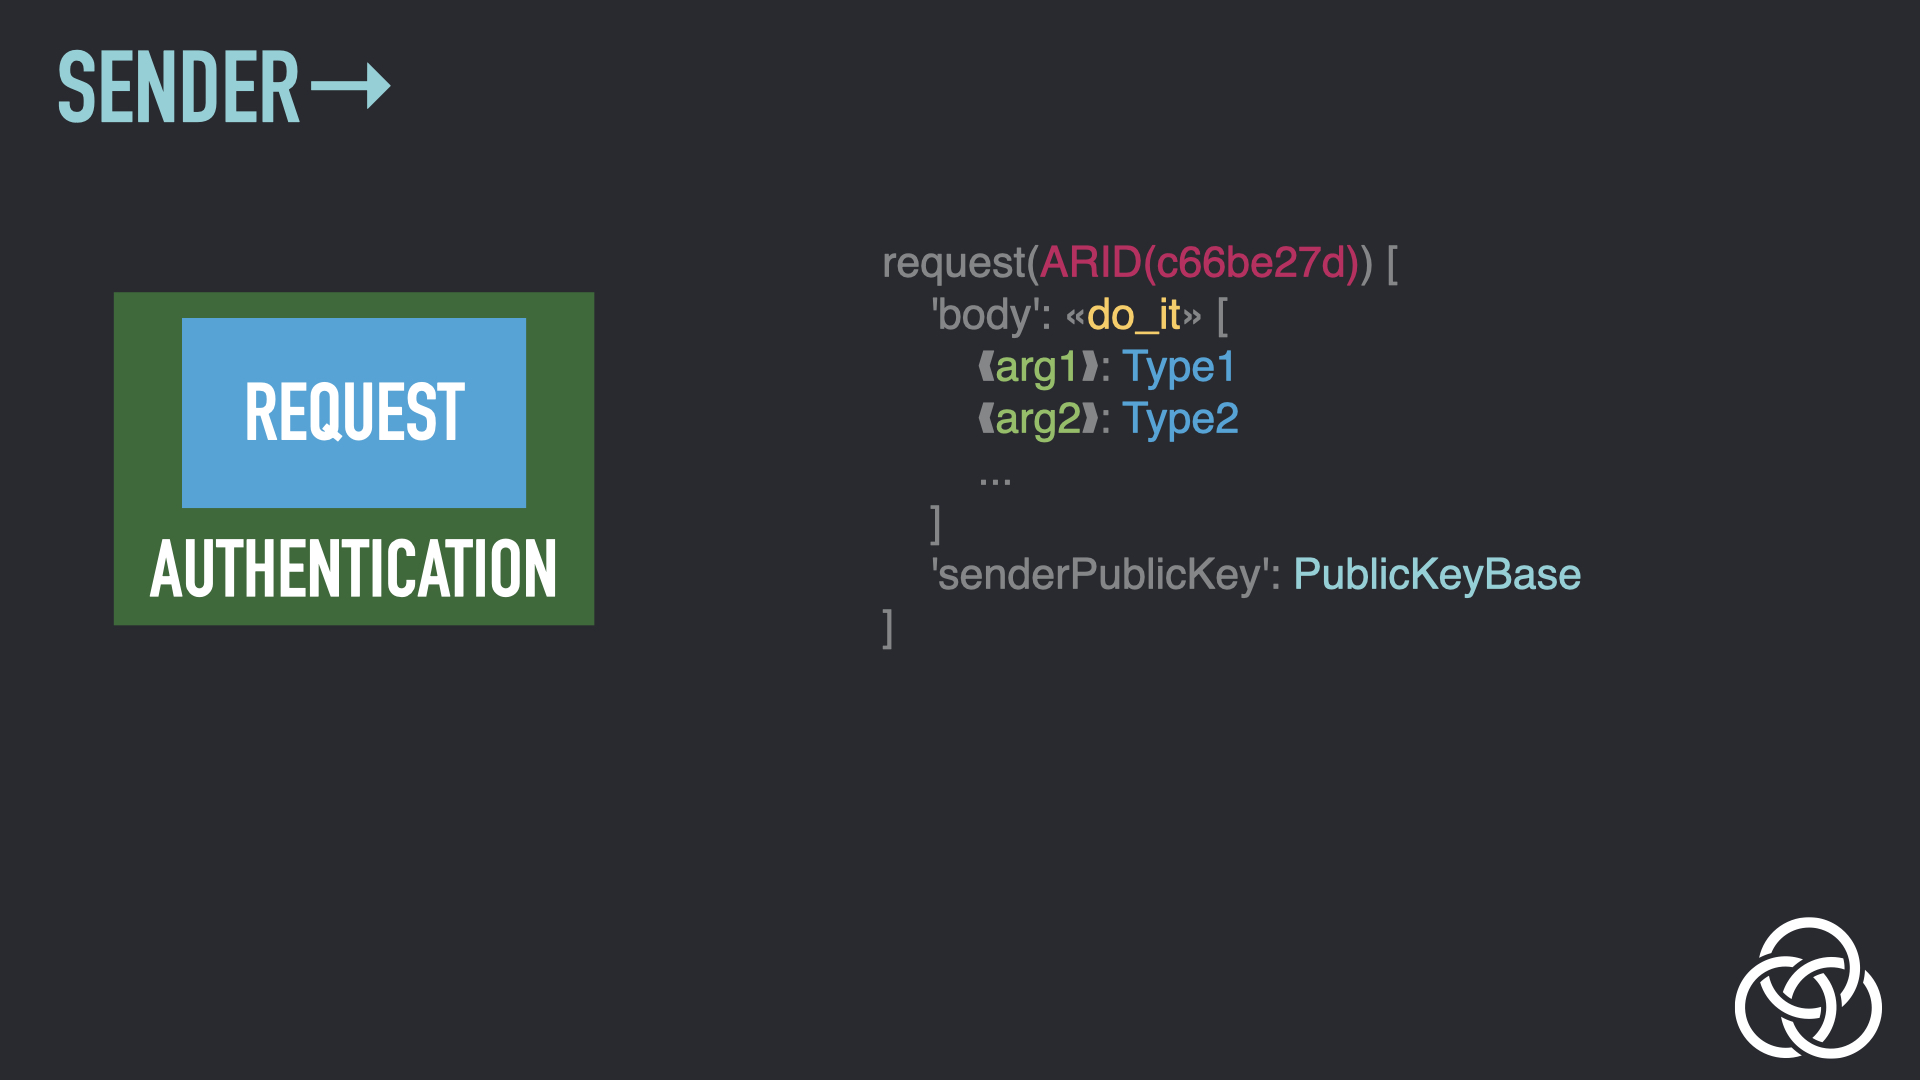
Step 2: Add Public Key
A Authentication Layer is now created. This begins by the sender adding a public key, which they will later prove that they own with a signature.
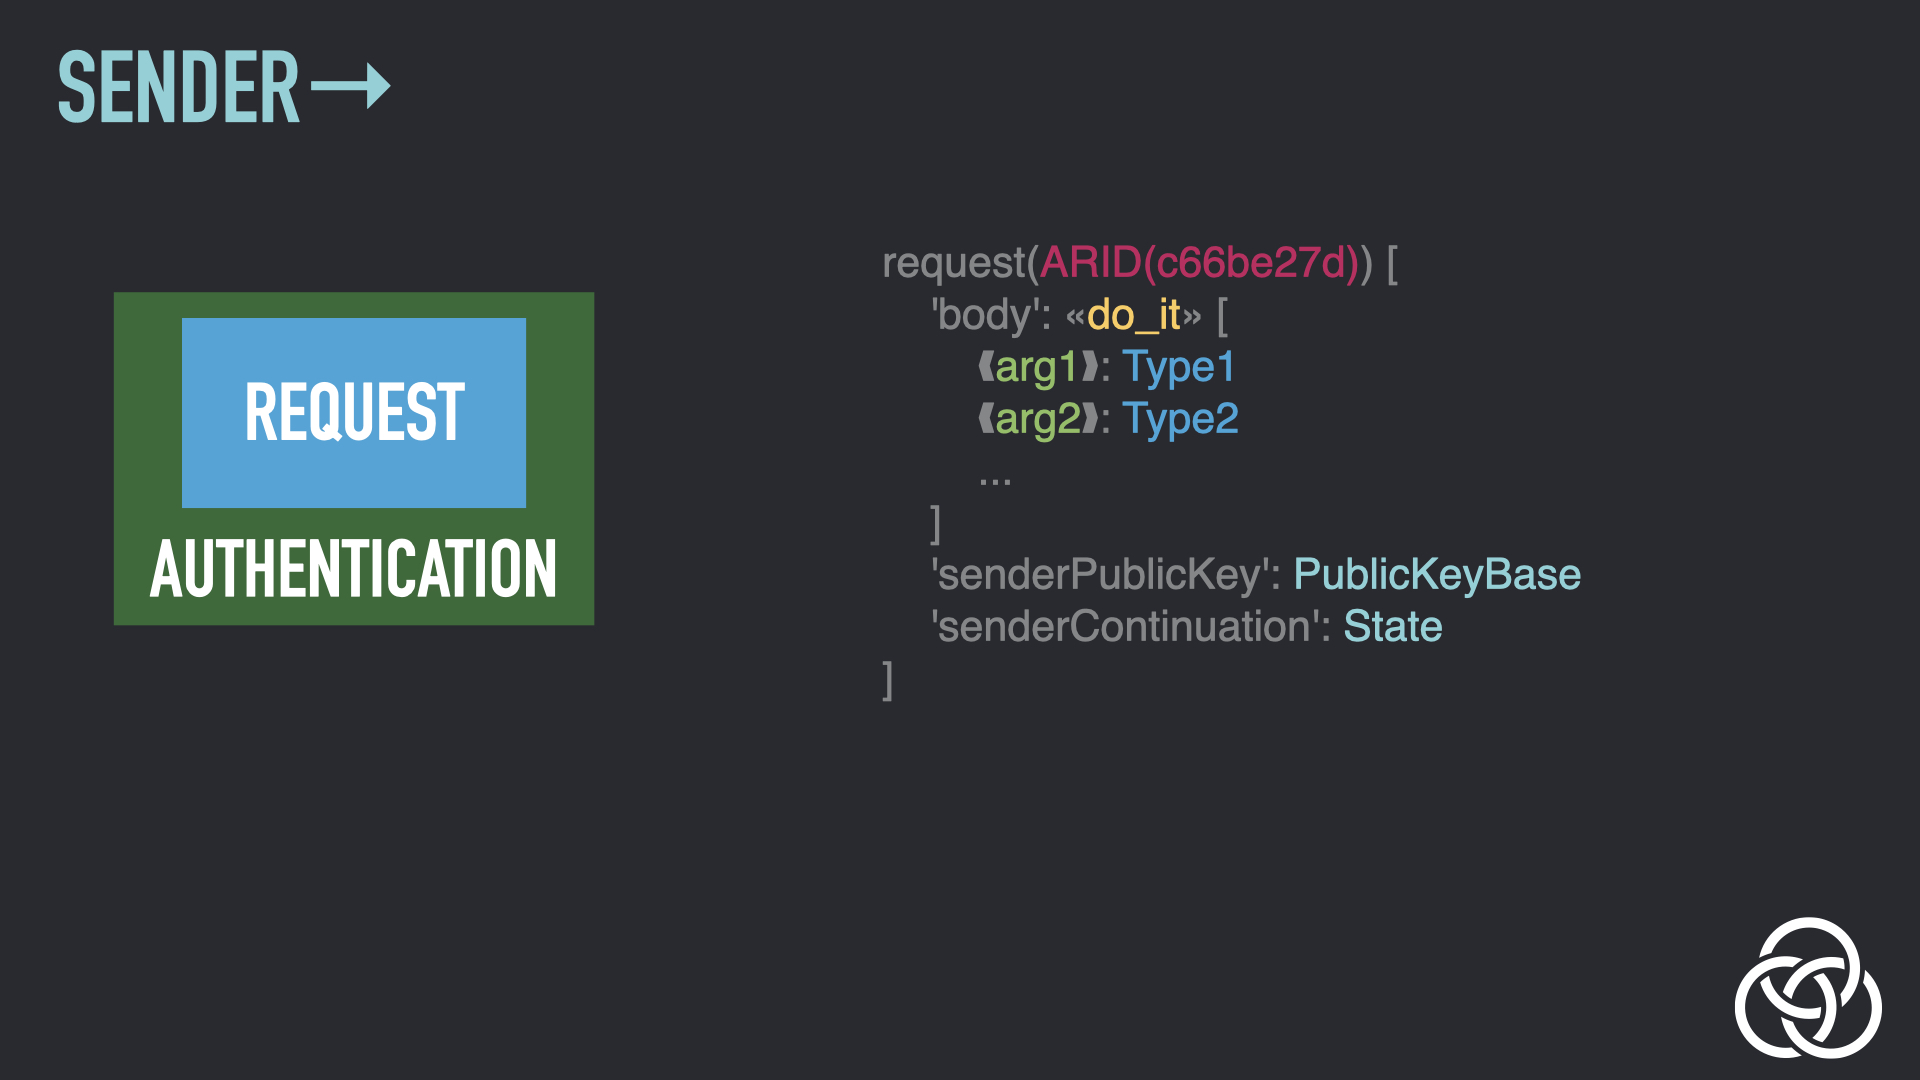
Step 3: Add Sender’s Continuation
Both participants can include continuation information in messages, which allows them to maintain state without having to do so locally. This is Encrypted State Continuation (ESC). Here, the sender adds their own continuation information to the message.
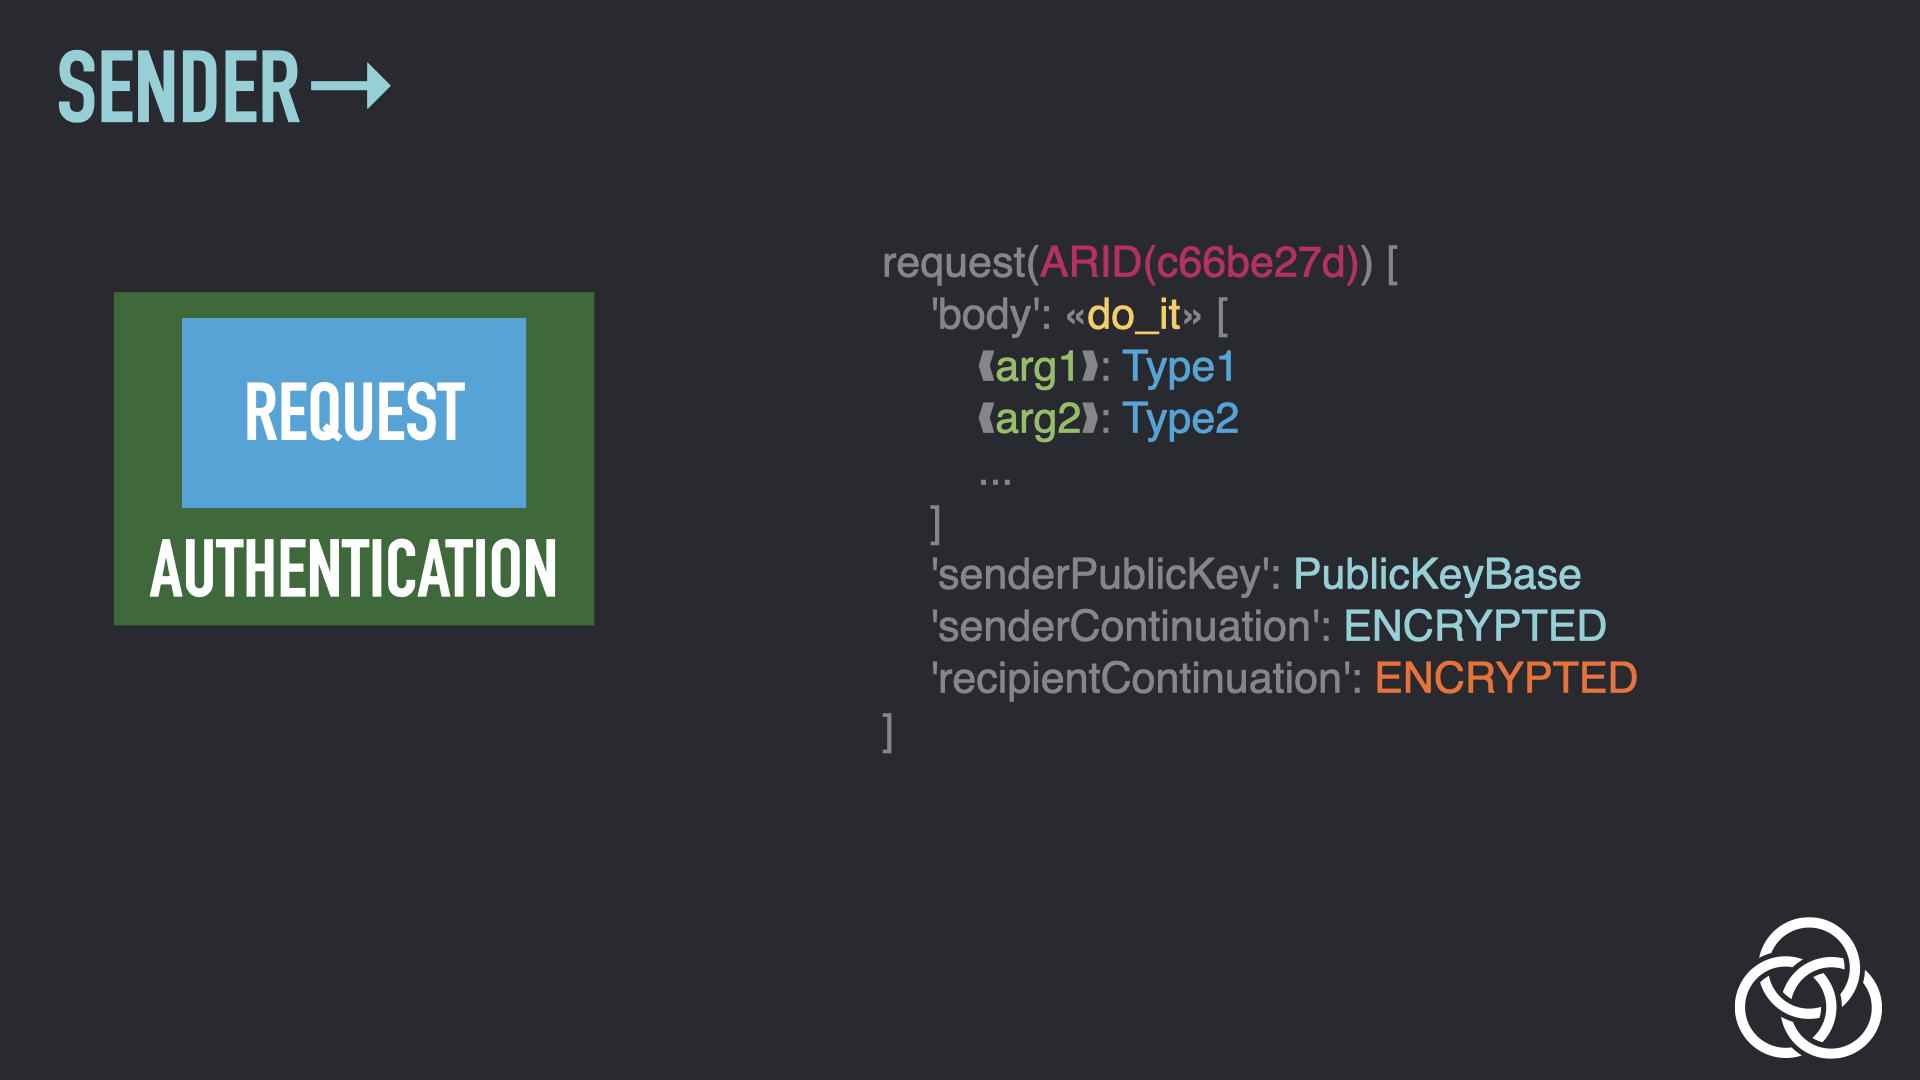
Step 4: Encrypt Sender’s Continuation
All continuation information is encrypted so that it’s only readable by the party that created it. Here, the sender encrypts their continuation.

Step 5: Copy Recipient’s Continuation
The sender also copies over the continuation sent by the recipient in a previous message (if any). Because it’s encrypted, they can’t read it: they just copy it over.
Step 6: Wrap the Content
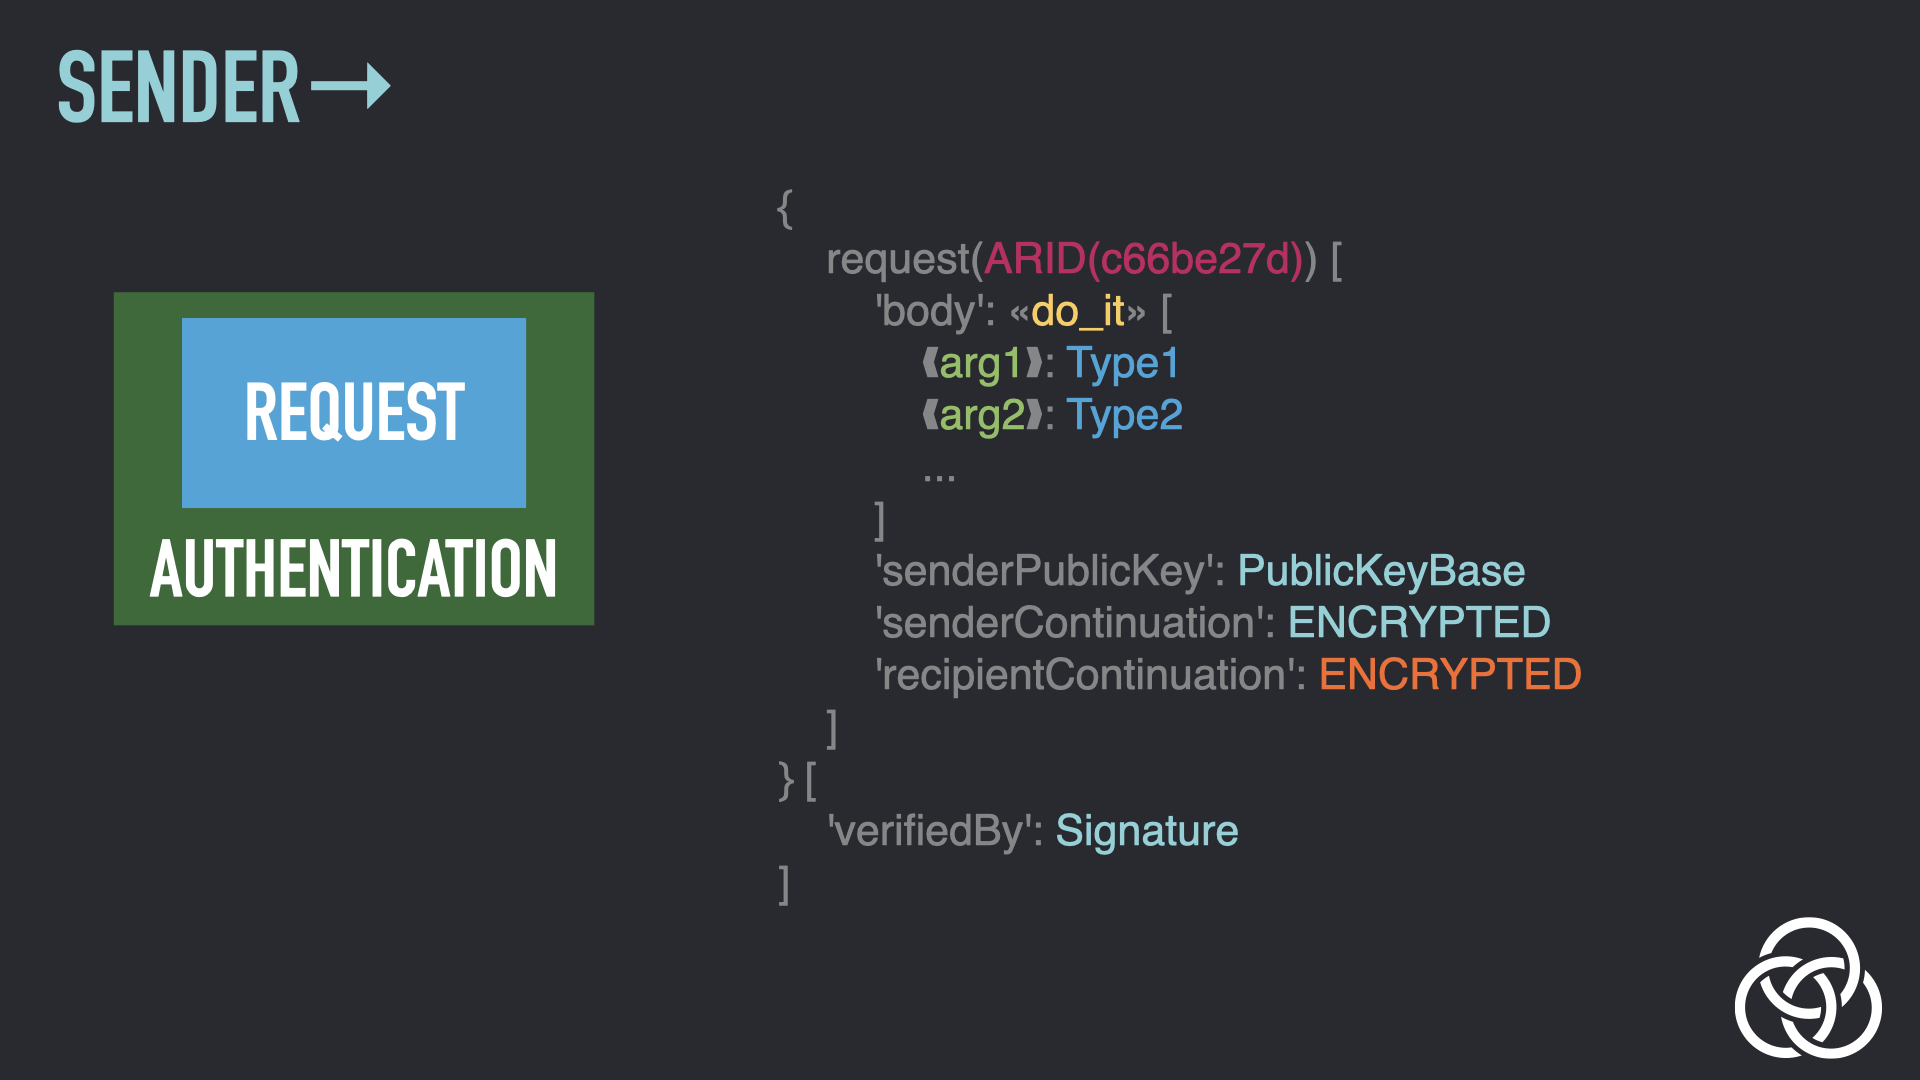
All Gordian Envelope assertions apply to a subject. That means that whenever you want something to apply to the entire contents of an envelope, and not just the subject, you need to wrap it, essentially creating a new envelope with the entirety of the previous envelope as the subject. Wrapping the envelope-to-date is the next step.
Step 7: Sign the Wrapped Envelope
With the envelope now wrapped, the sender can sign the entire contents with the private key matching the public key that’s included in the contents.
Step 8: Wrap the Envelope Again
The envelope is now wrapped a second time. This is so that when encryption is applied, it applies to the entire envelope. Otherwise, it would only apply to the subject, which does not include the brand-new signature. This wrapping creates the foundation for the Encryption layer.
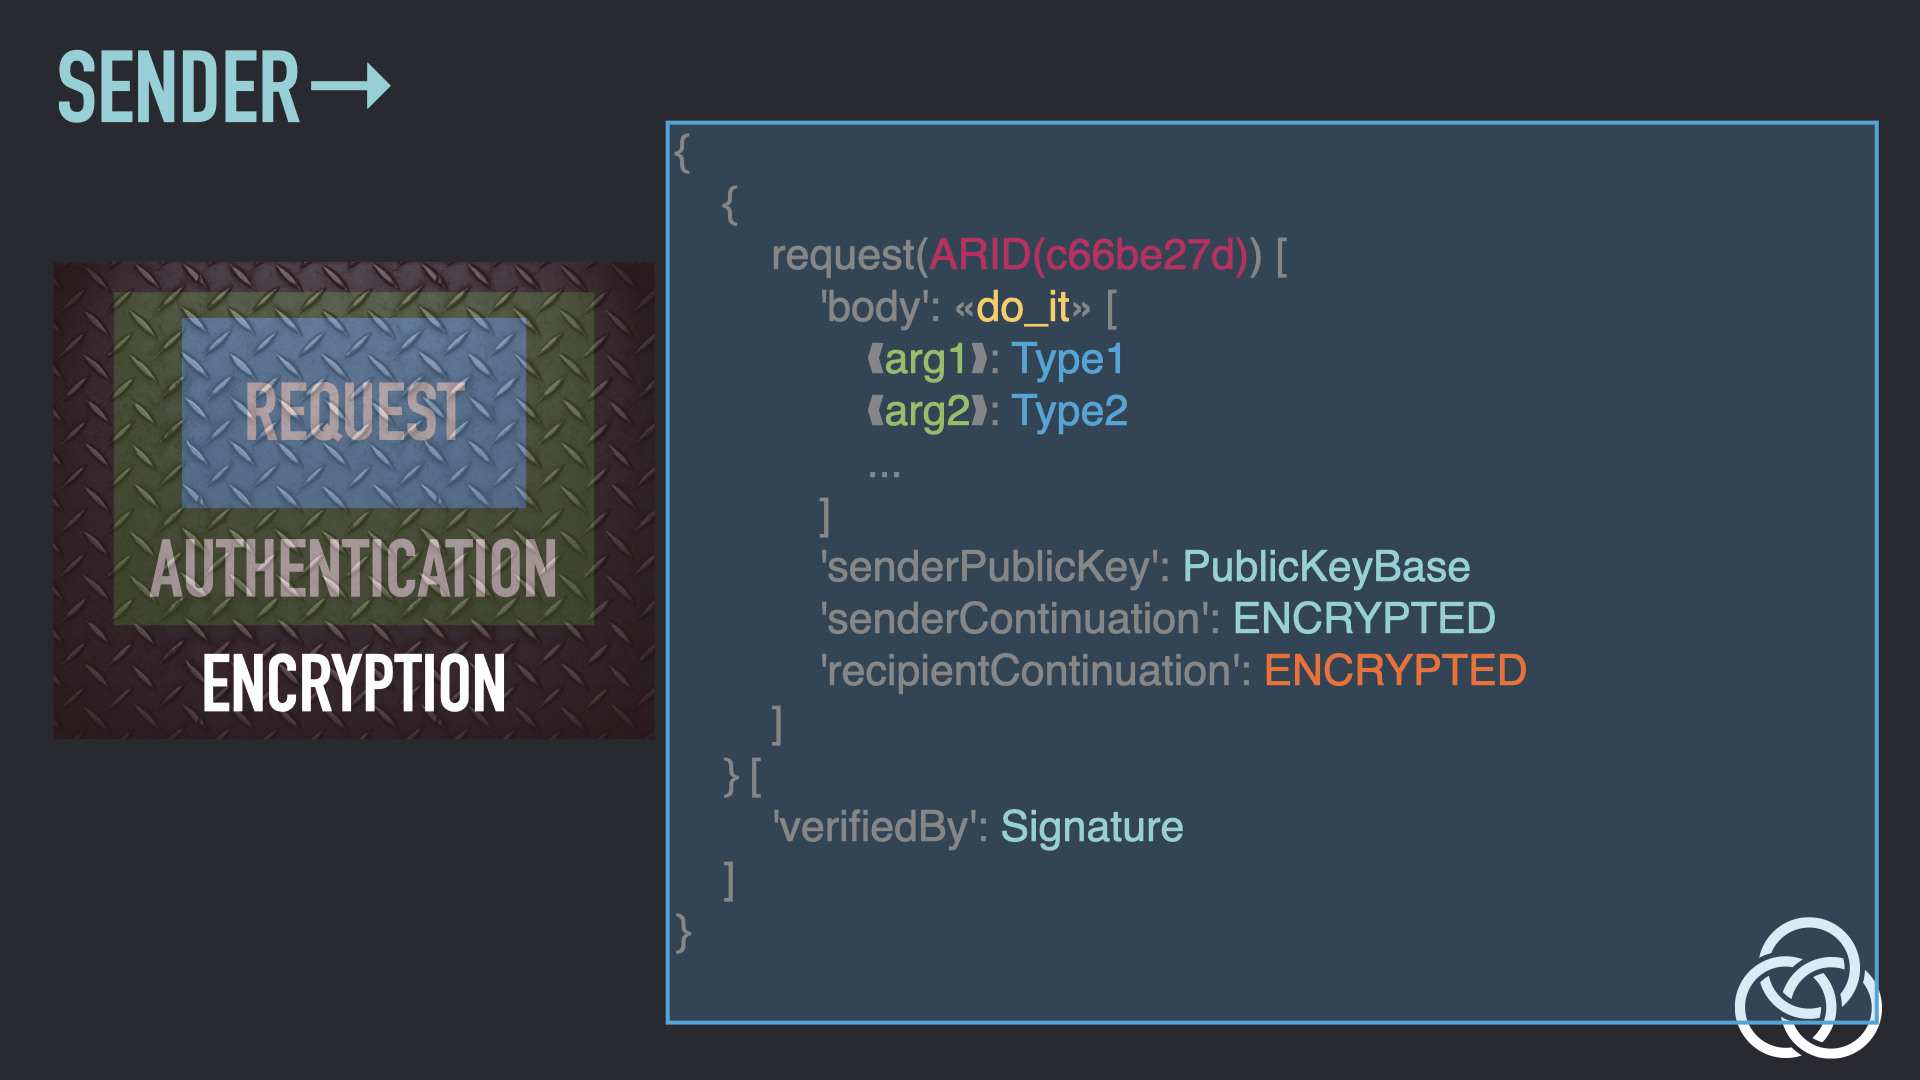
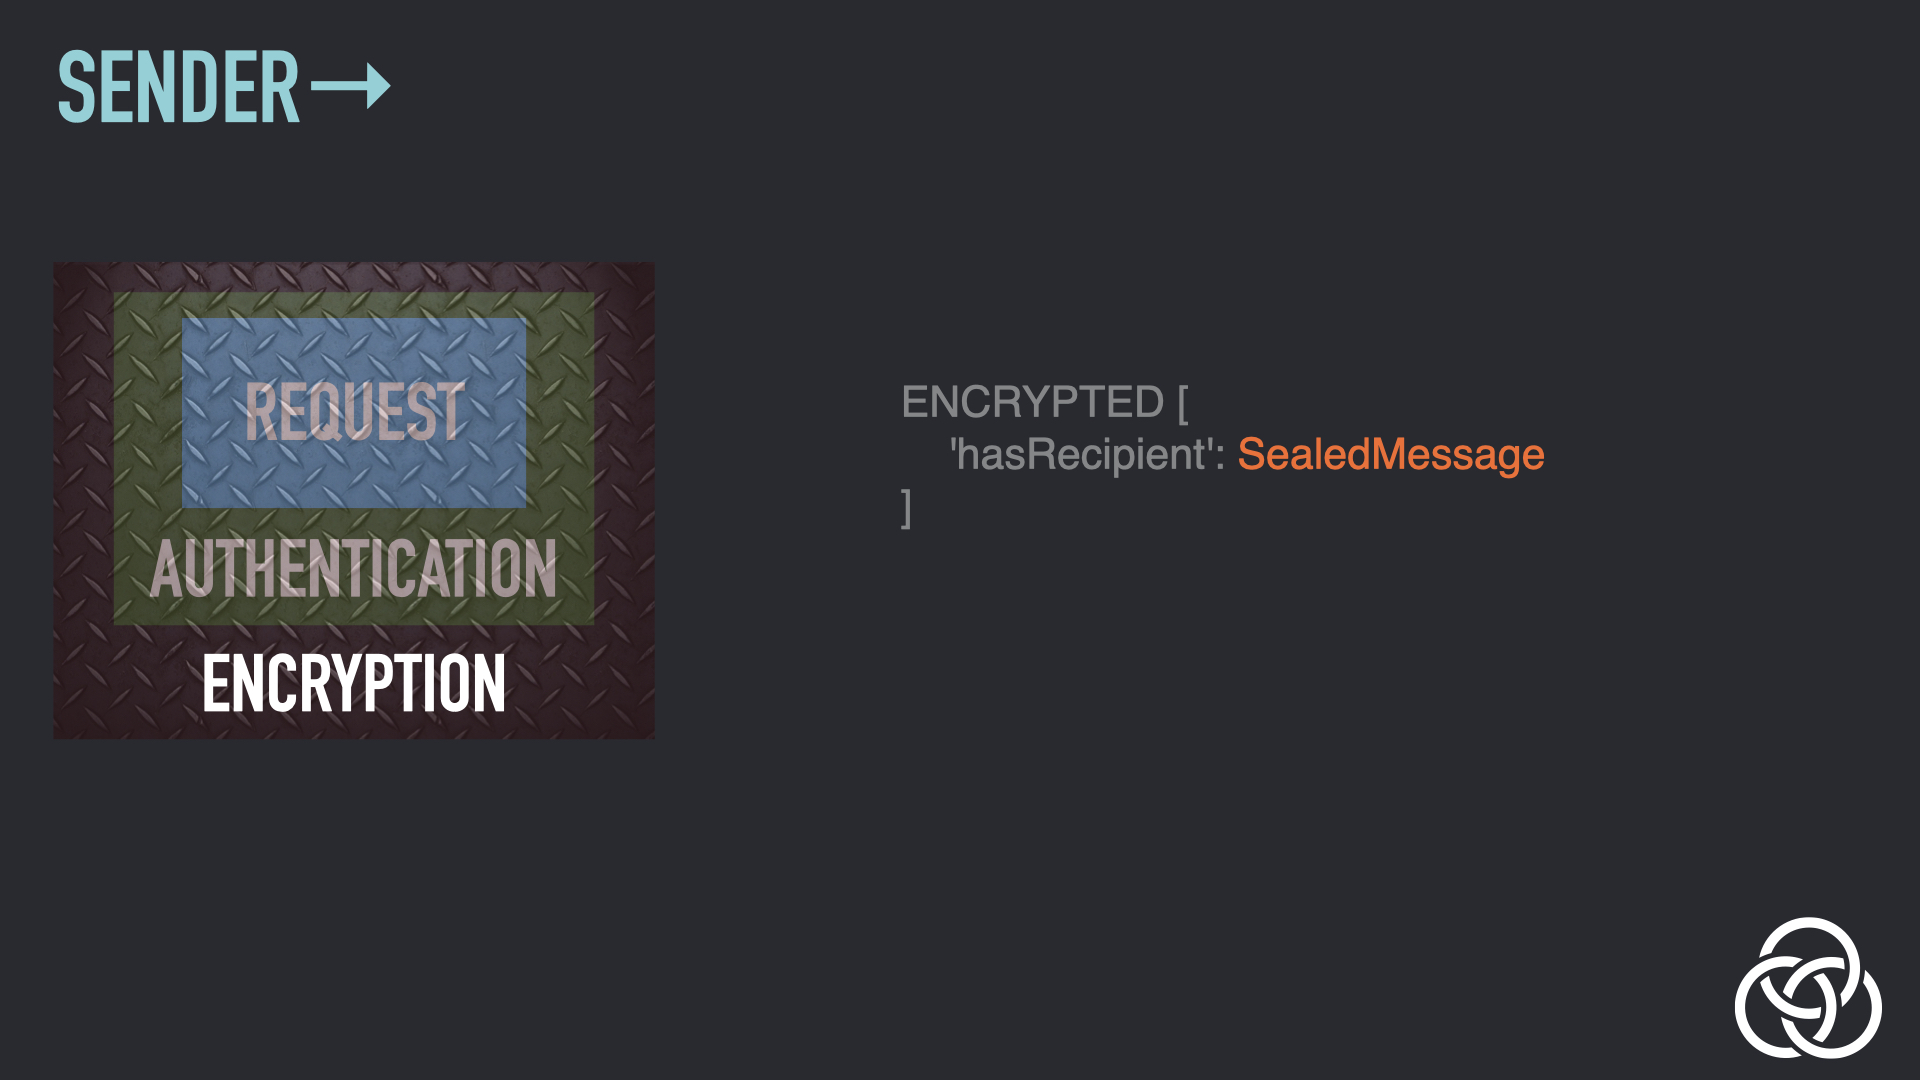
Step 9: Encrypt the Wrapped Envelope
The wrapped envelope is encrypted using a symmetric key.
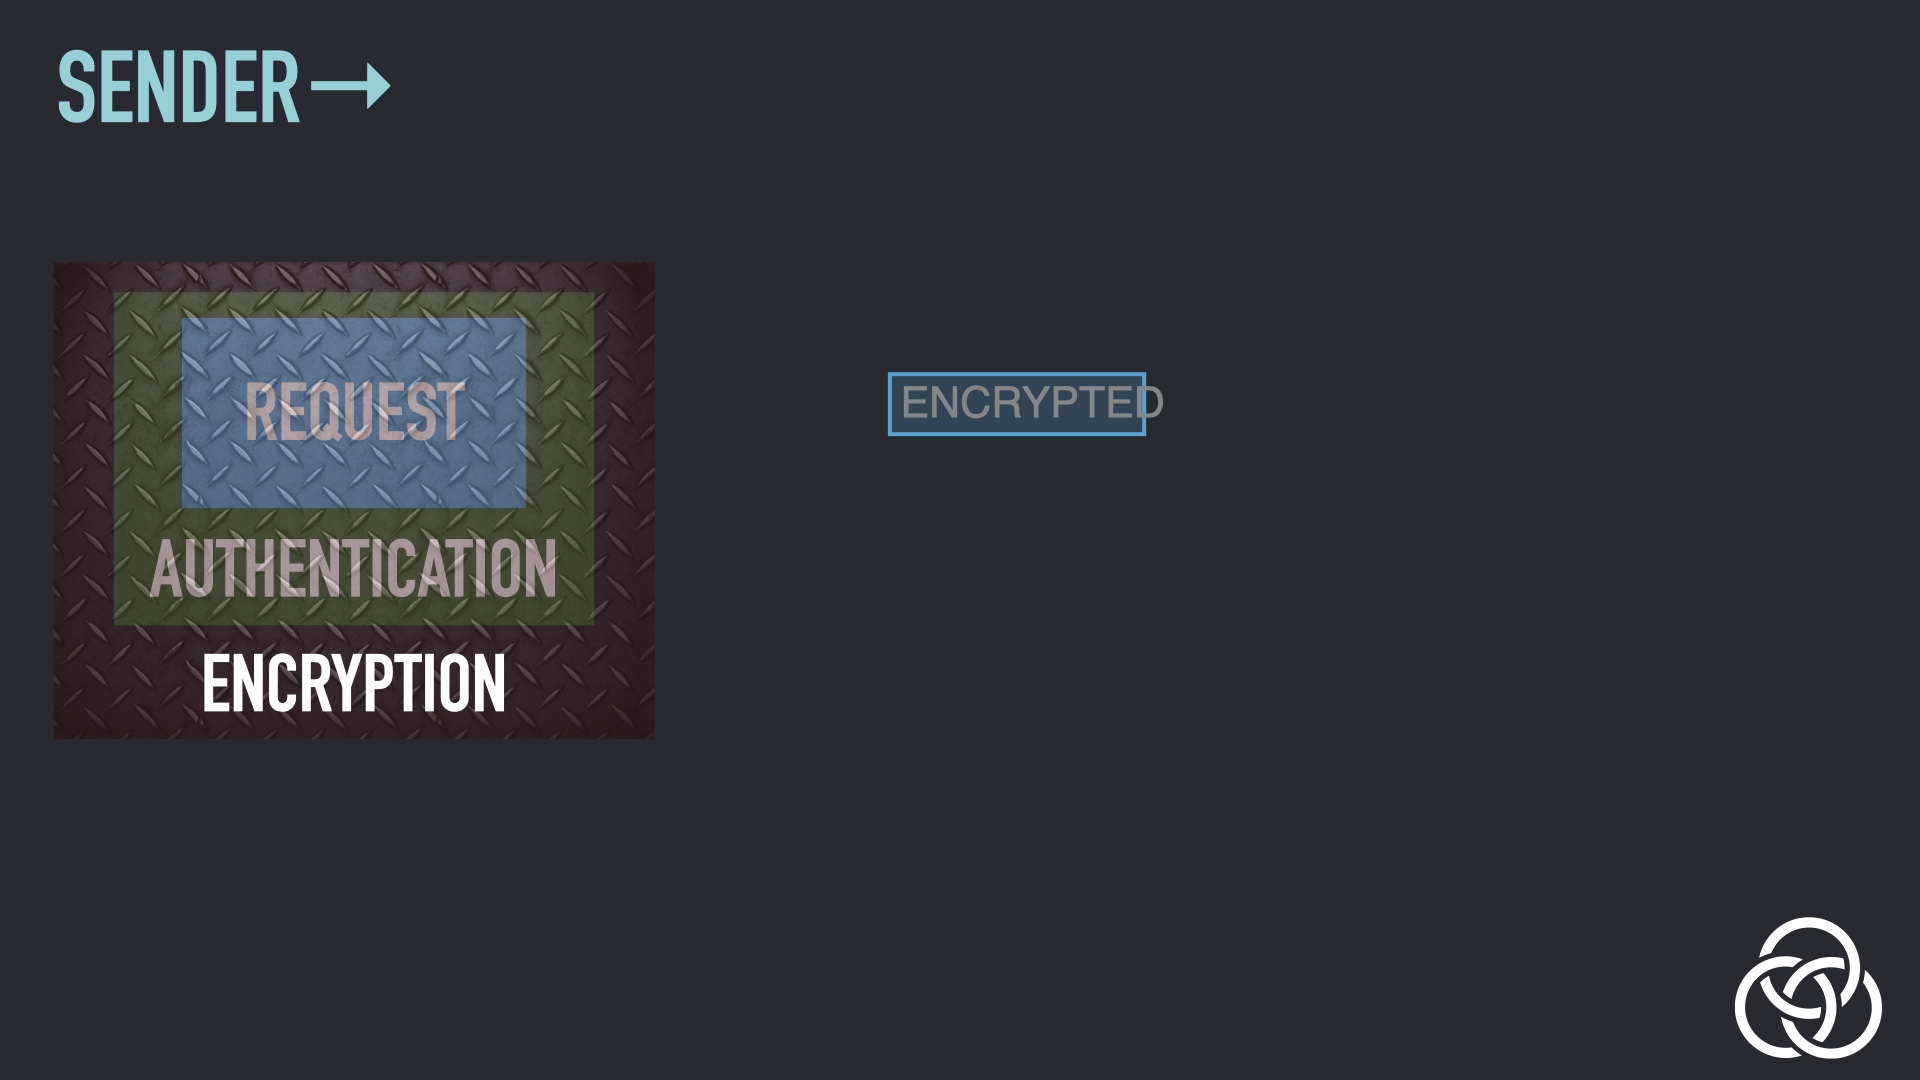
Step 10: Encrypt the Symmetric Key
Finally, the symmetric key is encrypted using the recipient’s public key and an ephemeral public key from the sender. The recipient will be able to decrypt it using their private key.
Step 11: Reverse the Process
The recipient then reverses the process:
- They use their private key and the recipient’s ephemeral public key to decrypt the symmetric key
- They use the symmetric key to decrypt the message.
- They verify the signature against the sender’s public key.
- They decrypt their continuation.
- They decide whether to run the Request using their continuation.
- Assuming they do, they create a Response, which is the start of their own Steps 1-10.
These slides are all drawn from the Understanding GSTP video. Take a look for more details or if you prefer video learning.